
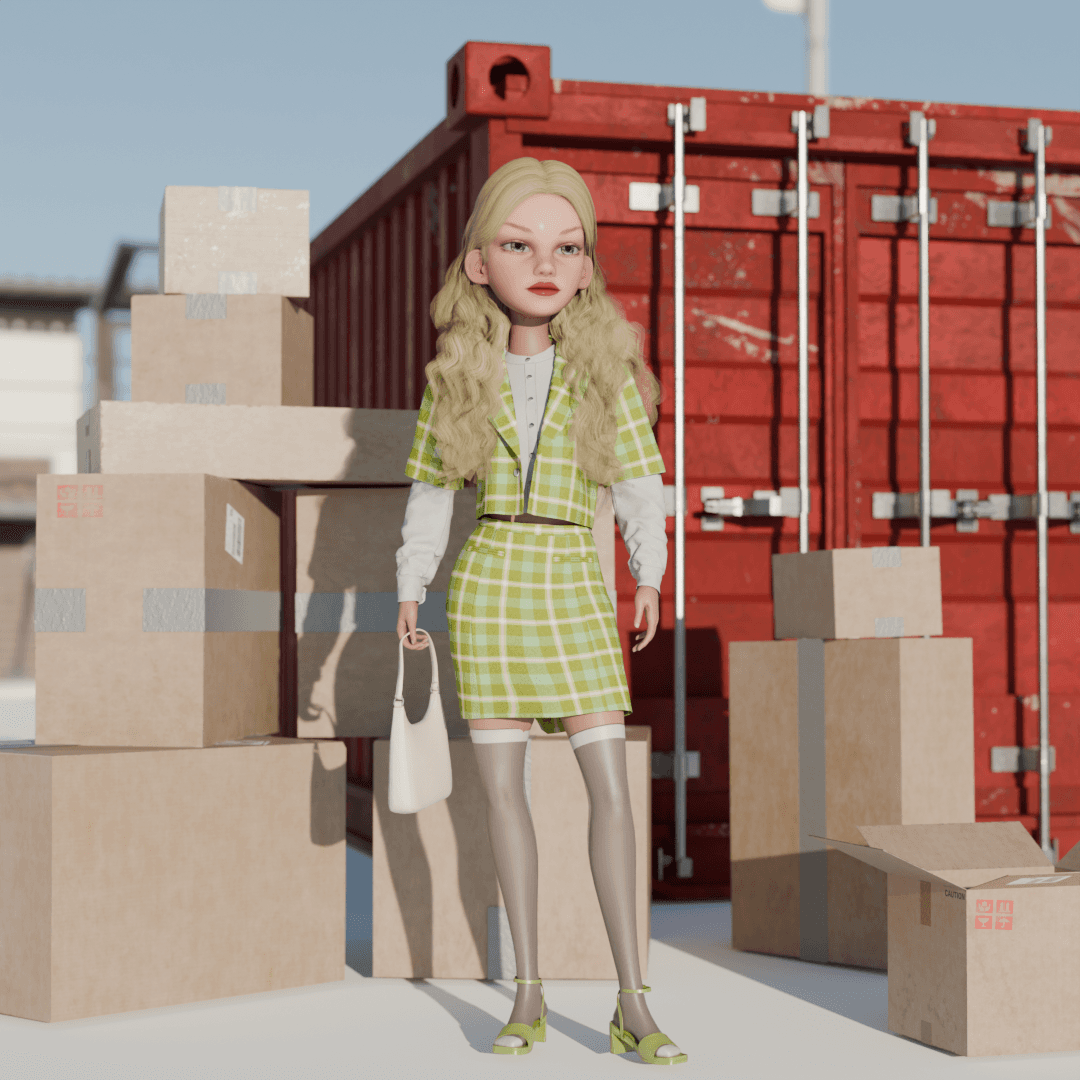
Redraping Garment
what's new
what's new
what's new
1.5
1.5
1.5
Oct 25, 2024
Oct 25, 2024
Oct 25, 2024
Transform and redrape a single garment onto characters with various body types.
How to Re-Scale and Re-Drape a Garment
Prepare your character as glTF or glb file in another 3D software.
Note: The character must include joint to collide with a garment in PRETCOORD.
Import your character into PRETCOORD as glTF/glb.
Run PRETCOORD.
Go to and click Main Menu - File - Import. → Import glTF/glb dialog appears.
Set the Object Type as Has Joints, and click Import button. → The file is loaded to the viewport. ※ If you cannot see the character, find it in Outliner list, click on it, then go to the Property window - Transform - Scale and increase its scale.
Open a garment from Browser.
Go to Browser and click and drag a garment into the viewport. → The garment is loaded to the viewport. ※ Only .grmt file can be simulated on your character.
Transform and simulate garment to fit onto your character.
Click on the garment.
Go to Property window - Transform and translate or sclae the garment to fit your character.
Go to Toolbar - Simulate Garment and click it. → The garment is simulated on the character.
Export garment as glTF/glb.
Click a garment you want to export. ※ Only one garment can be exported at a time. (ver.1.5 and below)
Go to Main Menu - File - Export and click it. → Save dialog appears.
Set the file name, file path, file type and click Save. → The garment is exported as glTF/glb.
Import the garment into another 3D software you use.
Run the 3D software you use and import the file.
explore and learn more
explore and learn more
become
a
pioneer
the
leading
future
fashion market
become
a
pioneer
the
leading
future
fashion
market
become
a
pioneer
the
leading
future
fashion market